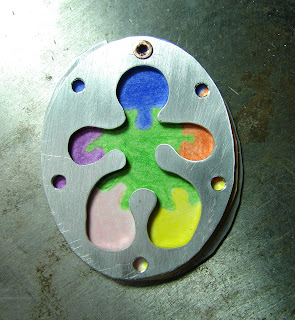
 |
| Lay back on front with hole lined up and check fitup. |
 |
| Check fit by putting paper drawing between sheet and center in center cutout shape. |
 |
| Add jump ring to hang pendant from. |
 |
| I fluxed and soldered jumpring to a closed loop. The cutout in the back allows the front to have jumpring soldered before the back is added. The paper would be damaged by the heat. |
 |
| With paper centered in front cutout, mark the common hole used on the back as well with sharpie. |
 |
| The back, paper with dot, and front. |
 |
| Drill hole at dot location. |
 |
| Using tubing in common hole line up back, paper, and front. |
 |
| Use a drop of super glue to hold paper in position on back after alignment found. |
 |
| Cut rivets for all open holes in the front the same length. Sand ends of rivets flat and perpendicular to axis of rivet. |
 |
| Cut paper from notch on back. |
 |
| Rivet the back, paper, and front using common hole. Flip part during riveting to keep it even and centered in material. |
 |
| With pieces lined up, drill one rivet hole on side opposite the first rivet. Deburr hole. Clean any debris from openings. |
 |
| Rivet the new hole to secure the pendant together, the pieces will now stay true to each other. |
 |
| Match drill out remaining holes using the front as a guide. Deburr holes and clean out all shavings. |
 |
| Rivet remaining holes. |
 |
| Flip part during riveting to keep rivets centered. |
To be continued.......

No comments:
Post a Comment