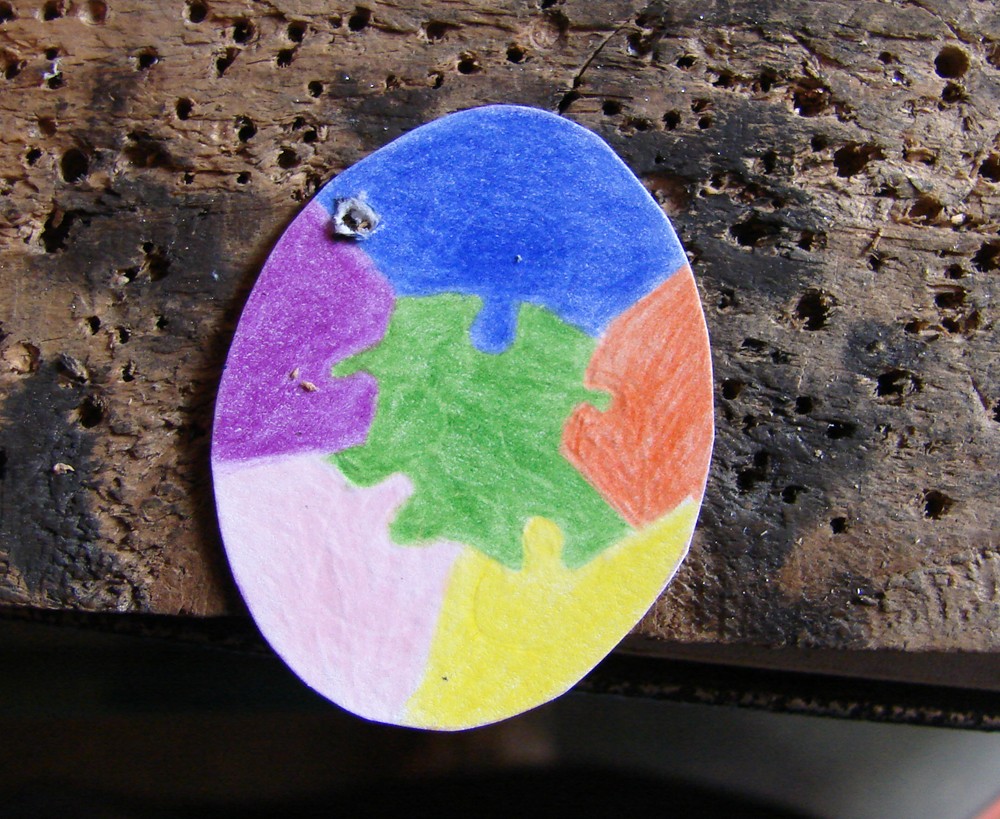
This is a step by step on how I made an Autism Awareness Pendant, using aluminum, copper rivets, paper, colored pencils, and clear resin.
 |
I sketched the design, made a scan and scaled it to the correct size and printed a copy. |
 |
I selected aluminum (.06 x 1.5 x 2.1" as my base material for this project. It is easy to work, very white in color, and light weight. Any thicker gage metal will work. |
 |
I used a glue stick to attach the sketch to the aluminum. I then sawed the outer oval out complete and recycled the outer pieces as scrap. |
 |
I then selected a lighter gage aluminum sheet as the back. |
 |
I traced the cut out oval onto the thinner sheet with a sharpie. The back will be slightly larger which helps with fitup and will be trimmed later. |
 |
I then cut out the back. |
 |
I then drilled a hole in the center section so I can insert saw blade and cut out the inside shape. |
 |
The pendant set up in bench pin ready to be sawn out. |
 |
The pendant with center sawn out. If dealing with precious metals drill a smaller hole on the outline so the center piece can be used in another piece. |
 |
File the inside to nice finish to remove the saw marks. Remove the paper pattern with some water. |
 |
I put the pendant on a target grid to aid in laying out the rivet holes in the open areas around the perimeter. |
 |
I used a compass to add the hole locations from the edge. |
 |
I used a center punch at the intersections of lines for each rivet. |
 |
| Select drill that matches size of tubing used for rivets. I am using copper, but other malliable metals would work. Note only the top rivet needs to be a tube rivet, the others could be solid for more design possibilities. |
 |
Drill all rivet holes at centermarks.
|
To be continued.....